


![Cake Box Duplex 500gm [8x8x5] Pack of 10 - thebakingtools.com](http://thebakingtools.com/cdn/shop/files/thebakingtools-com-packing-materials-default-title-cake-box-duplex-500gm-8x8x5-pack-of-10-37272015962300.jpg?v=1742651731&width={width})


Homemade Chocolate : For Snacking & Business
Homemade Chocolate Recipe : Chocolate is more than just a sweet treat; it’s a universal symbol of gifting, love, and memories. Remember how parents used to give us chocolate to make us stop crying? Or when you bribed your siblings to keep your secrets? Chocolates are a part of everyone's childhood memory.
Making chocolate at home is not only fun but also allows you to customize flavours and ingredients. In this blog, we’ll explore the history of chocolate, learn how to make homemade chocolate using compound chocolate, and even discuss how you can turn this domestic hobby into a side hustle or even main business.
The History of Chocolate
Chocolate has a rich history dating back to ancient Mesoamerican civilizations like the Aztecs and Mayans. They consumed chocolate as a bitter drink made from cacao beans, often mixed with spices and herbs. When chocolate reached Europe in the 16th century, sugar was added, transforming it into the sweet treat we know today. By the 19th century, solid chocolate bars were invented, and the rest is history!
Why Make Homemade Chocolate With Baking tools Team?
-
Control over ingredients: No preservatives or artificial flavors.
-
Customization: Add nuts, dried fruits, or spices to suit your taste.
-
Cost-effective: Cheaper than store-bought premium chocolates.
-
Perfect for gifting: Handmade chocolates make thoughtful gifts.
Requirements and Ingredients
Ingredients
-
Chocolate compound: 400g (dark, milk, or white chocolate)
-
Optional add-ins:
-
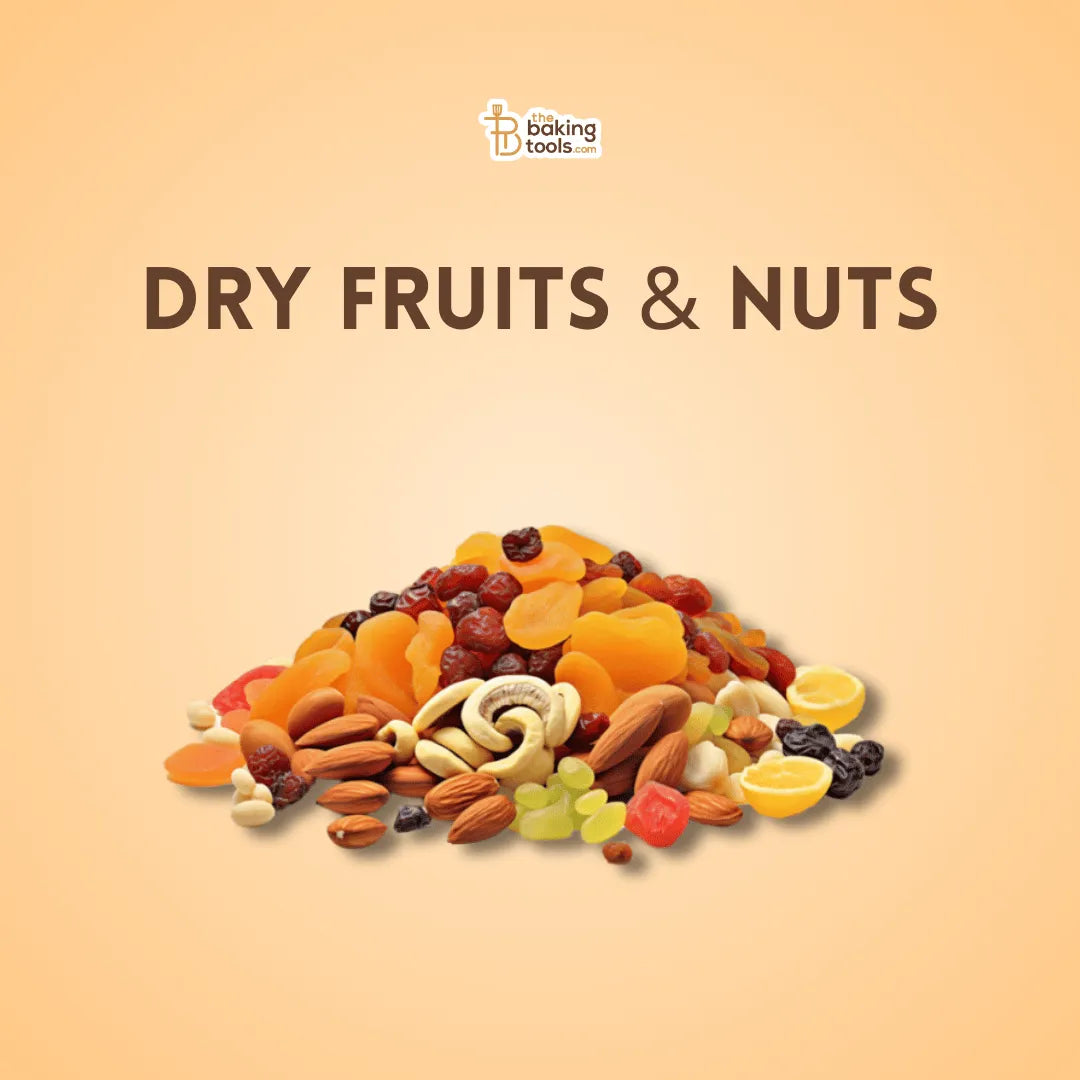
Nuts (almonds, pistachios, hazelnuts & much more).
-
Dried fruits (raisins, cranberries, apricots & much more).
-
Flavour Extracts & Colours (vanilla, orange, mint & much more).
-
Spices (cinnamon, chilli powder & much more).
-
-
Toppings:
-
Sea Salt
-
Edible Glitter
-
Crushed cookies or biscuit crumbs
-
Equipment
-
Double boiler: A heatproof bowl and a pot for melting chocolate.
-
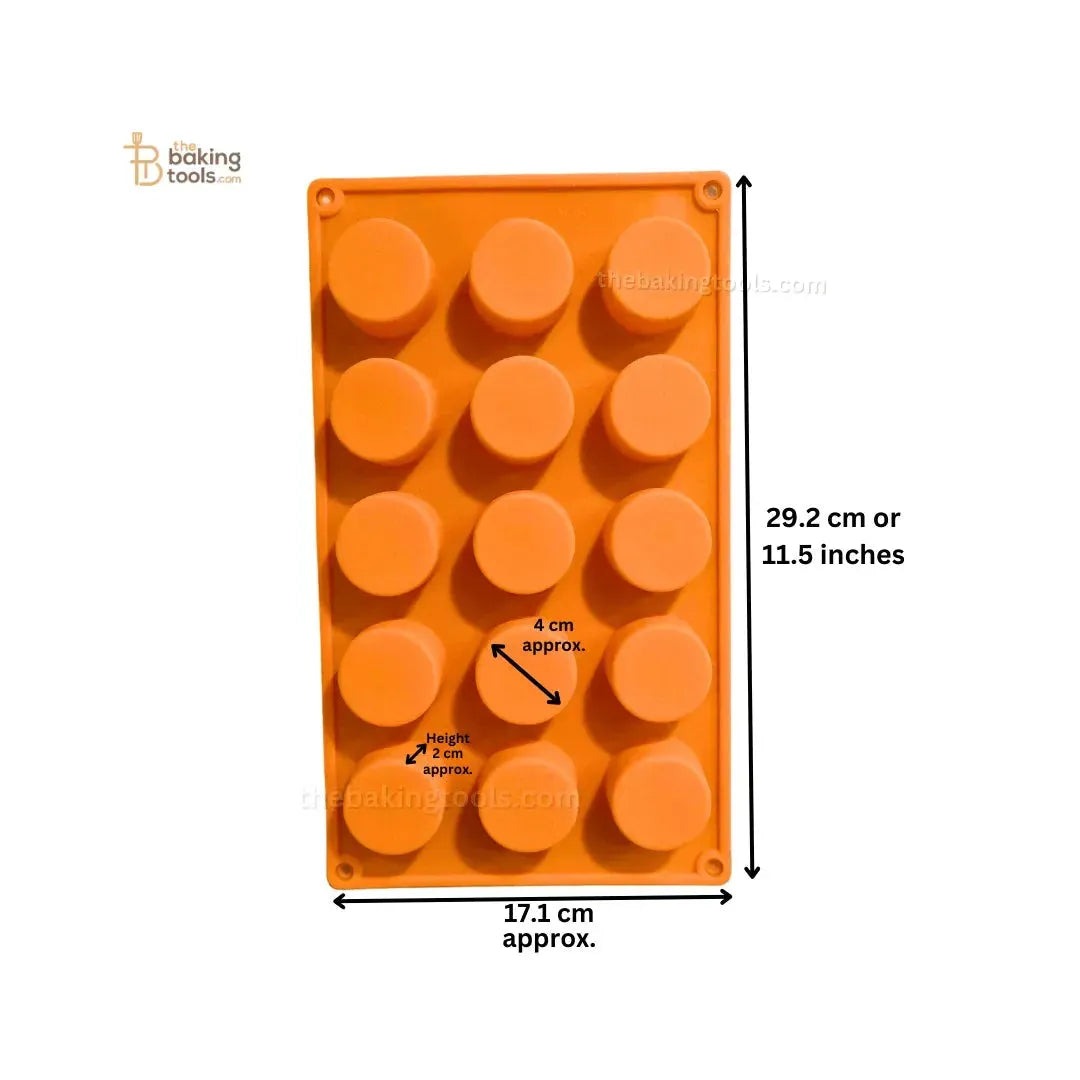
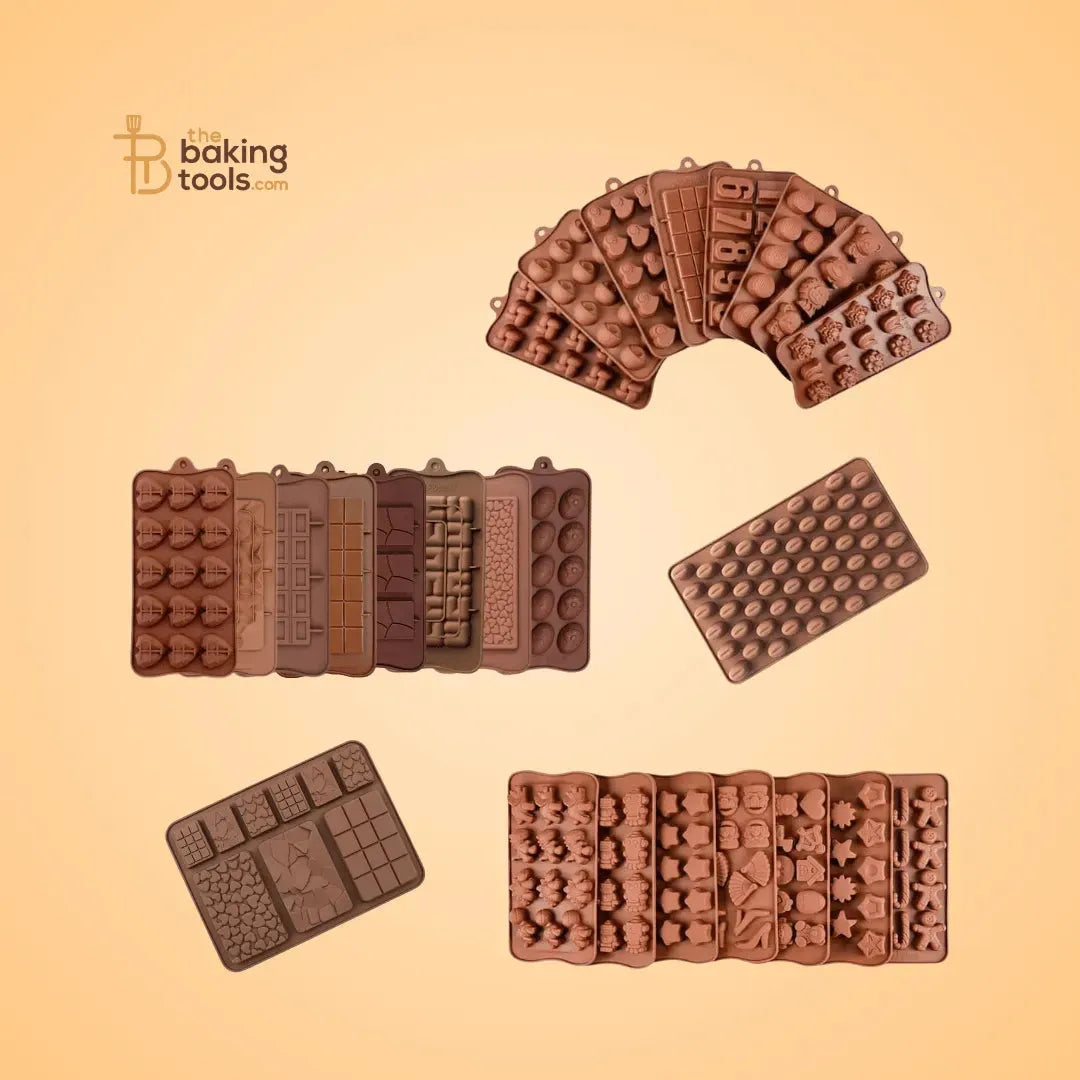
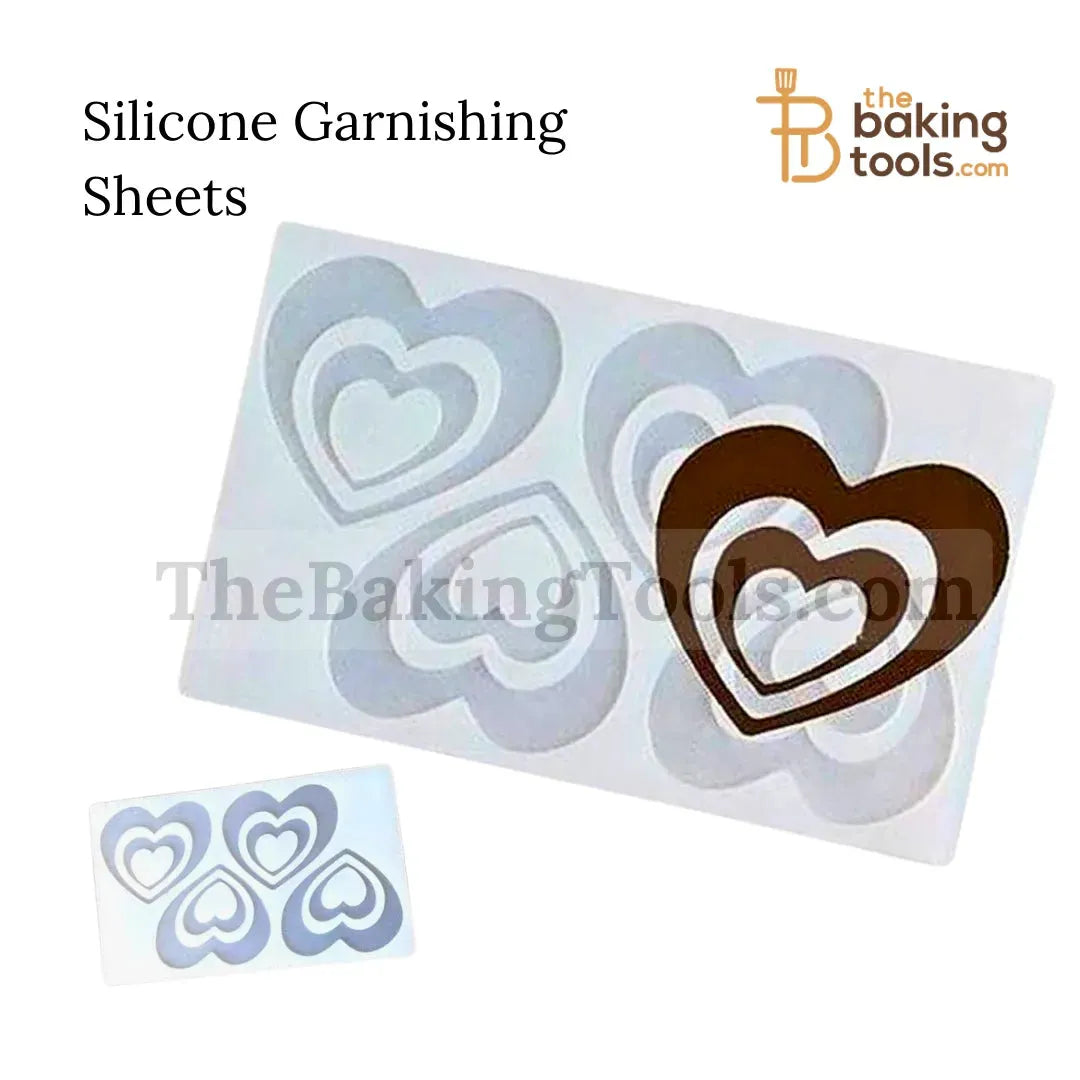
Silicone Moulds: For shaping the chocolate.
-
Parchment paper: For lining on trays if not using moulds.
-
Spatula or spoon: For stirring and pouring.
-
Refrigerator: For setting the chocolate.
-
Airtight Container: For storage.
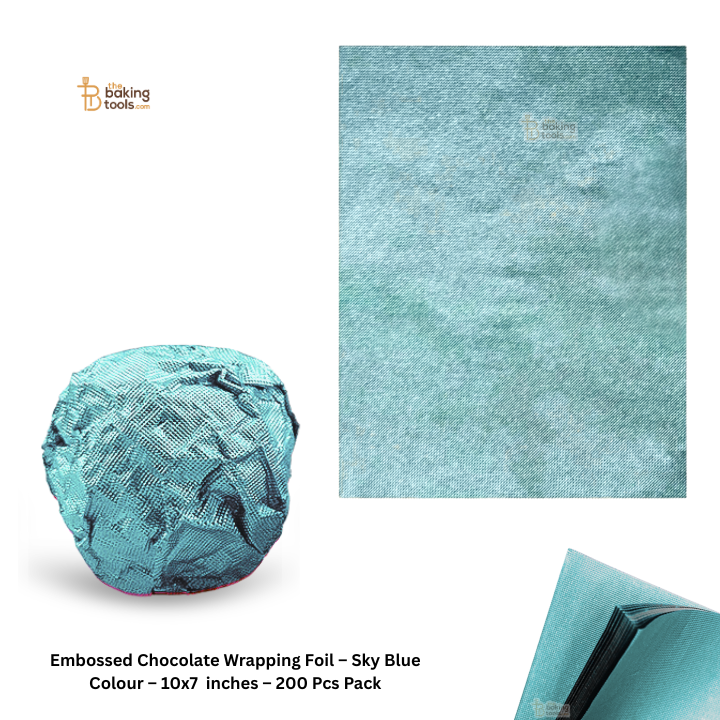
- Chocolate Wrapper: For Wrapping Chocolate Or Gifting Purposes.
Step-by-Step Guide to Making Homemade Chocolate
Step 1: Gather Your Ingredients and Tools
Before you start, make sure you have everything ready:
-
Ingredients:
-
Chocolate compound (400g – dark, milk, or white).
-
Optional add-ins like nuts, dried fruits, or flavour extracts.
-
Toppings like sea salt or edible glitter.
-

-
Tools:
-
A pot and a heatproof bowl (for double boiling).
-
Silicone moulds or a parchment-lined tray.
-
A spatula or spoon for stirring.
-
A refrigerator for setting the chocolate.
-
Step 2: Prepare Your Workspace
-
Clean and dry all your tools. Even a small drop of water can ruin the chocolate.
-
Keep your molds or tray ready. If using molds, place them on a flat surface.
-
Chop any nuts or dried fruits into small pieces if you’re using them.


Step 3: Melt the Chocolate (Double Boiler Method)
-
Fill the Pot: Take a pot and fill it with 1-2 inches of water. Place it on the stove and heat it on medium-low until the water starts to simmer (small bubbles form, but it’s not boiling).
-
Set Up the Double Boiler: Place a heatproof bowl on top of the pot. Make sure the bottom of the bowl doesn’t touch the water. This setup is called a double boiler and helps melt the chocolate gently without burning it.
-
Add the Chocolate: Break the chocolate compound into small pieces and add them to the bowl. Stir occasionally with a spatula or spoon as the chocolate melts.
-
Melt Completely: Keep stirring until the chocolate is smooth and fully melted. This usually takes about 5-10 minutes.

-
Remove from Heat: Once the chocolate is melted, turn off the stove and carefully remove the bowl from the pot. Let it cool for 2-3 minutes.
Step 4: Add Flavors and Mix-Ins (Optional)
-
If you want to add nuts, dried fruits, or flavor extracts, now is the time.
-
Stir in your chosen ingredients gently until they’re evenly distributed in the melted chocolate.
-
For a richer taste, you can also add a teaspoon of butter or cream.
Step 5: Pour the Chocolate into Molds or Tray
-
Prepare the Molds/Tray: If you’re using silicone molds, make sure they’re clean and dry. If using a tray, line it with parchment paper.
-
Pour the Chocolate: Use a spoon or spatula to pour the melted chocolate into the molds or onto the tray. Fill them about ¾ full if you’re adding toppings.
-
Add Toppings: Sprinkle sea salt, edible glitter, or crushed cookies on top of the chocolate for extra flavor and decoration.

Step 6: Let the Chocolate Set
-
Refrigerate: Place the molds or tray in the refrigerator. Let the chocolate set for 1-2 hours. Avoid opening the fridge too often, as temperature changes can affect the setting process.
-
Check if Set: After 1-2 hours, gently touch the chocolate. If it’s firm and doesn’t stick to your finger, it’s ready.
Step 7: Remove and Store
-
Remove from Molds: If you used silicone molds, gently pop the chocolates out. If you used a tray, lift the parchment paper and break the chocolate into pieces.
-
Store Properly: Place the chocolates in an airtight container. Store them in a cool, dry place or in the refrigerator if it’s warm. Homemade chocolate stays fresh for up to 2 weeks.

Troubleshooting Common Issues
-
Chocolate is Grainy: This happens if water gets into the chocolate. Make sure all tools are dry.
-
Chocolate Won’t Set: If the chocolate is too soft, it might not have been cooled properly. Let it set in the fridge for longer.
-
Chocolate is Too Thick: Add a teaspoon of coconut oil or butter to make it smoother.
Final Thoughts
Making homemade chocolate is easier than you think! With just a few ingredients and simple steps, you can create delicious, personalized chocolates that are perfect for gifting, snacking, or even selling. So, grab your ingredients, follow these steps, and enjoy the sweet rewards of your efforts!
To order any chocolate supplies, visit:- The Baking Tools
Precautions
-
Avoid water: Even a drop of water can cause the chocolate to seize and become grainy.
-
Low heat: Always melt chocolate on low heat to prevent burning.
-
Use dry utensils: Ensure all tools are completely dry.
-
Storage: Store homemade chocolate in an airtight container in a cool, dry place.
Special Tips for Perfect Homemade Chocolate
-
Tempering: For a glossy finish and snap, temper the chocolate by heating and cooling it to specific temperatures.
-
Experiment: Try different combinations like dark chocolate with orange zest or white chocolate with pistachios.
-
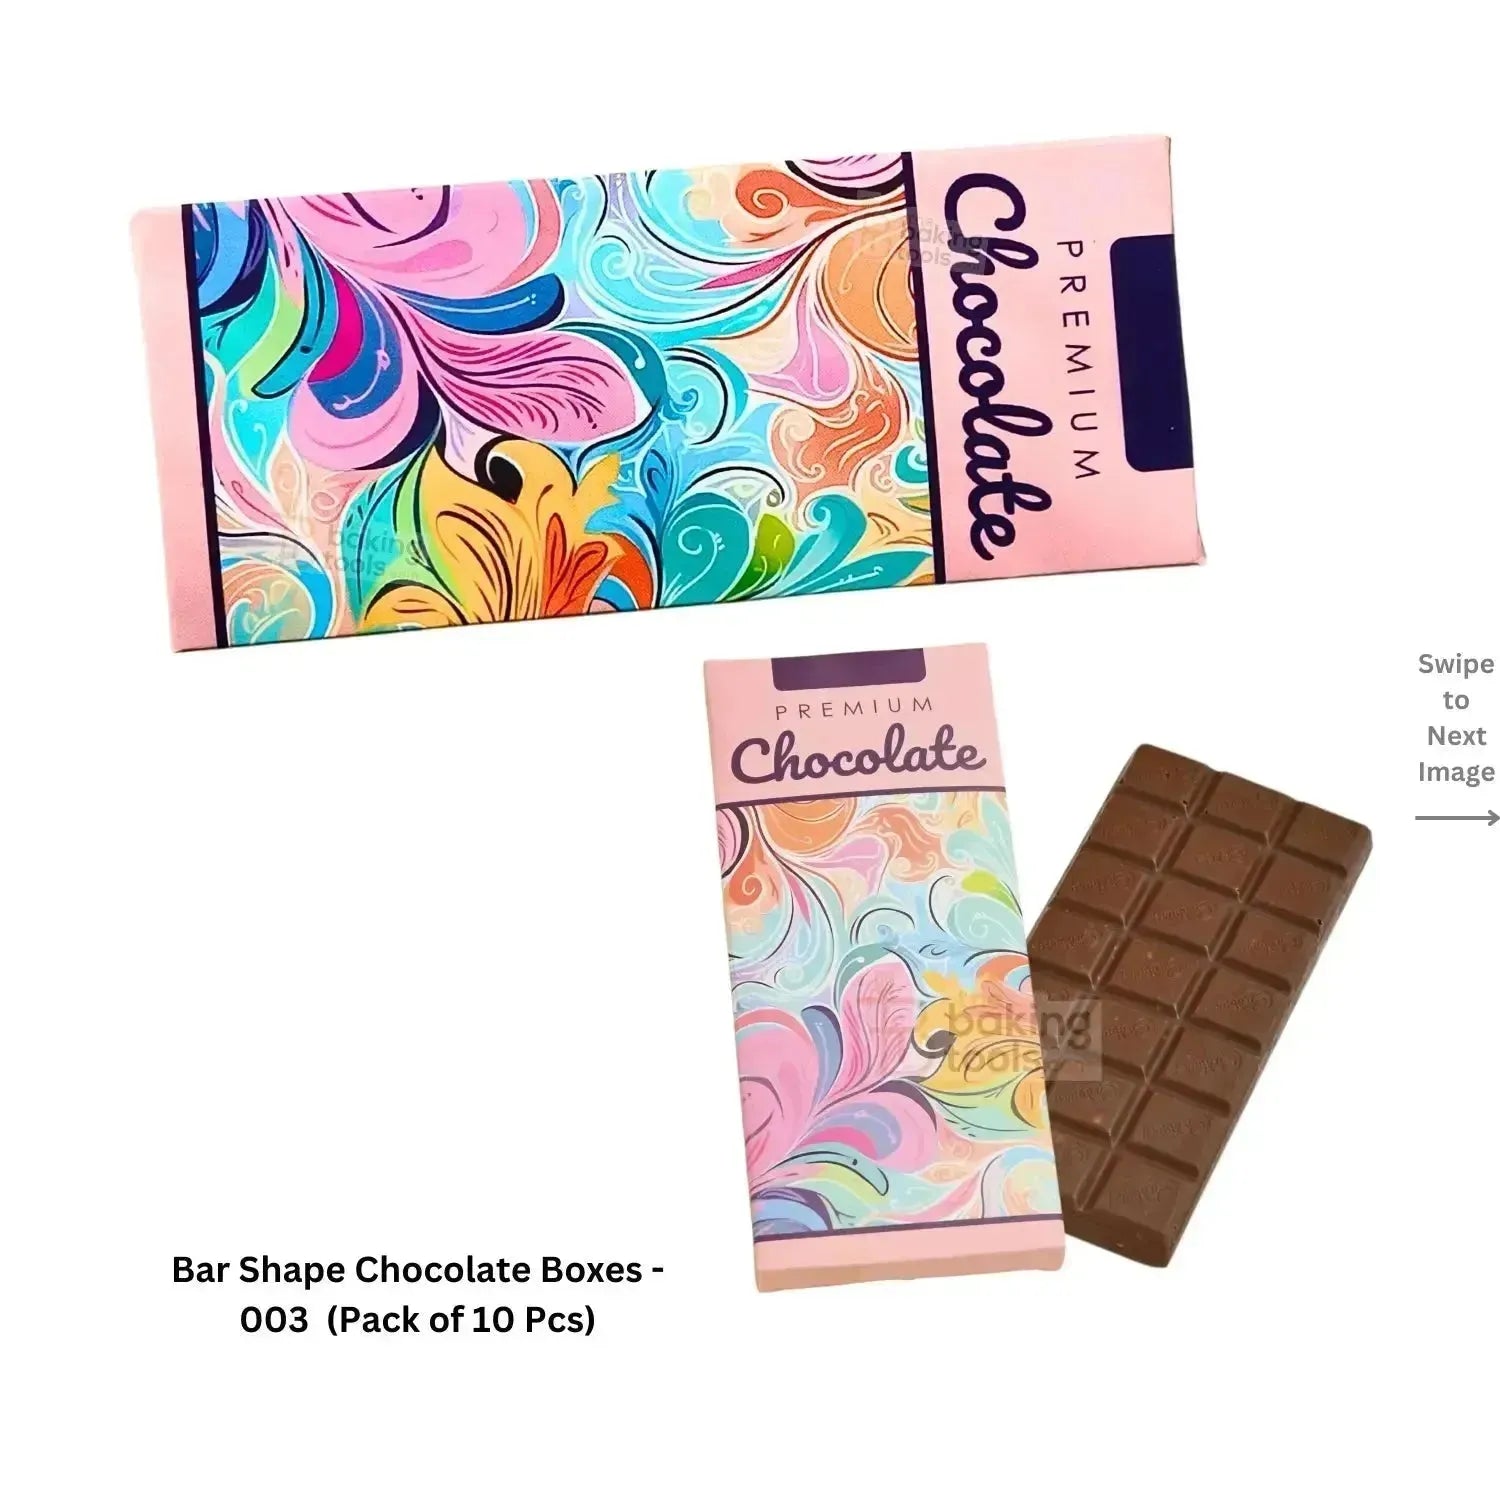
Presentation: Use different shaped molds and decorative packaging for a professional look.
Selling Homemade Chocolate
In order to run a chocolate business, it's important to get a FSSAI license. You can register for FSSAI License easily through their official website.
Selling Cost Calculation
-
Cost of ingredients: ₹200-₹300 per 200g batch (depending on quality).
-
Packaging: ₹50-₹100 per box.
-
Selling price: ₹500-₹800 per 200g (depending on market and presentation).
-
Profit margin: ₹200-₹400 per batch.
Where to Sell
-
Social Media platforms: Instagram, Facebook, Pinterest, Linkedin, YouTube, or your website.
-
Online markets: Amazon, Flipkart, Zomato, Swiggy, BigBasket, Zepto, Blinkit or local stores.
-
Custom orders: For weddings, birthdays, or corporate events.
Uses of Homemade Chocolate
-
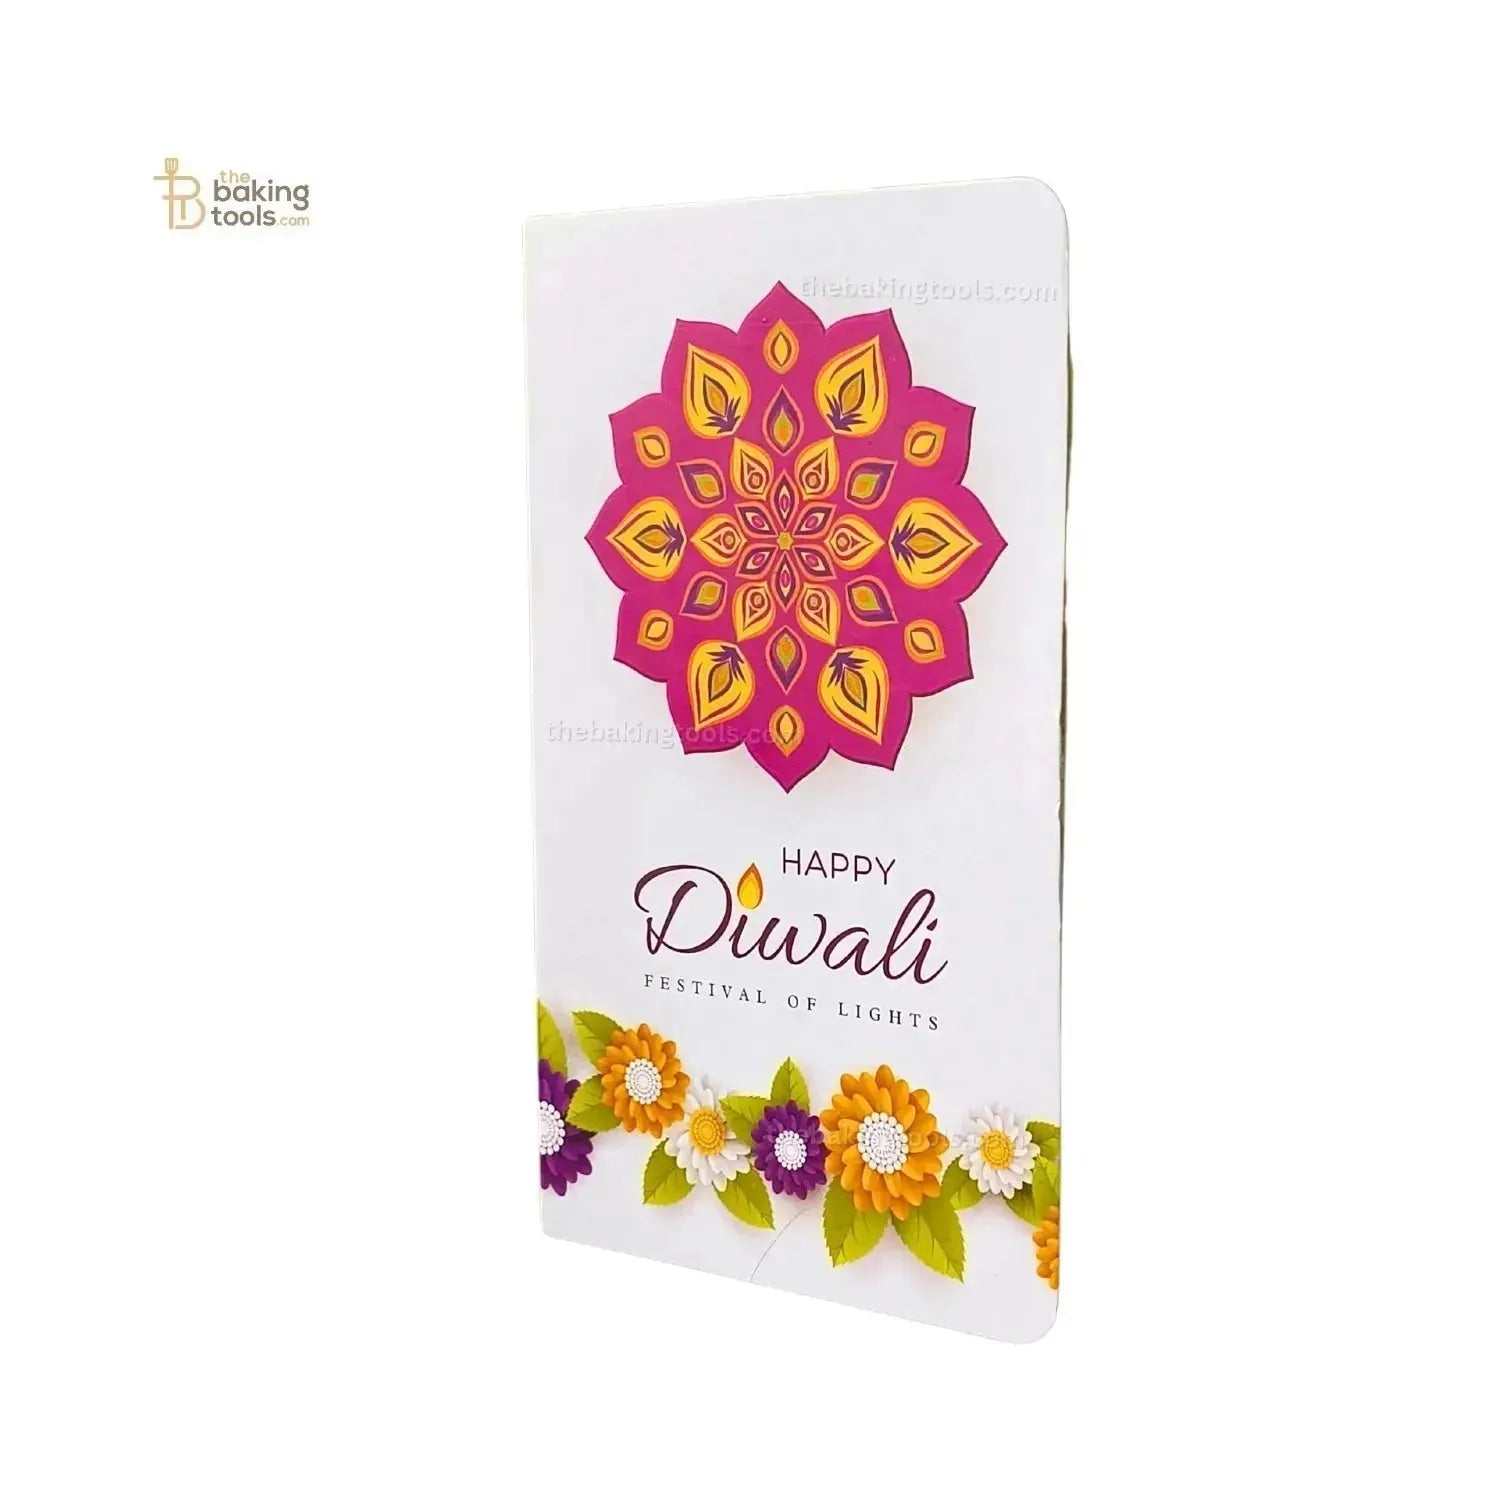
Gifting: Pack in decorative boxes for birthdays, festivals, or anniversaries.
-
Desserts: Use as a topping for cakes, ice creams, or brownies.
-
Baking: Incorporate into cookies, muffins, or truffles.
-
Hot chocolate: Shave and melt into warm milk for a rich drink.
Conclusion
Making homemade chocolate is a delightful experience that combines creativity, craftsmanship, and a touch of history. Whether you’re making it for personal enjoyment or to start a small business, the possibilities are endless. With the right ingredients, techniques, and passion, you can create chocolates that rival even the finest brands. So, grab your apron, melt that chocolate, and let the sweet journey begin!
For More Awesome Content Visit On The Baking Tools Blogs
FAQ For Starting New Business
What is FSSAI Registration?
FSSAI registration is a mandatory requirement for all food businesses in India, including chocolate manufacturers. FSSAI registration ensures that your food products meet the food safety standards set by the government and are safe for consumption. FSSAI registration is mandatory for all food businesses, including manufacturers, traders, distributors, retailers, and food importers.